

|
This post may contain affiliate links, which means that we may receive a commission if you make a purchase using these links. As an Amazon Associate, we earn commission from qualifying purchases.
Getting into photography can feel intimidating fast, one look at professional gear lists and it seems like you need thousands of dollars before you can even take your first real shot. The truth is that most beginners get far more value from understanding a few core pieces of equipment well than from buying every accessory available.
A thoughtfully chosen starter kit lets you focus on learning composition, light, and technique instead of getting lost in gear you don’t yet know how to use. This guide walks through everything worth considering as you build your first photography setup.
1. A Beginner-Friendly Camera Body
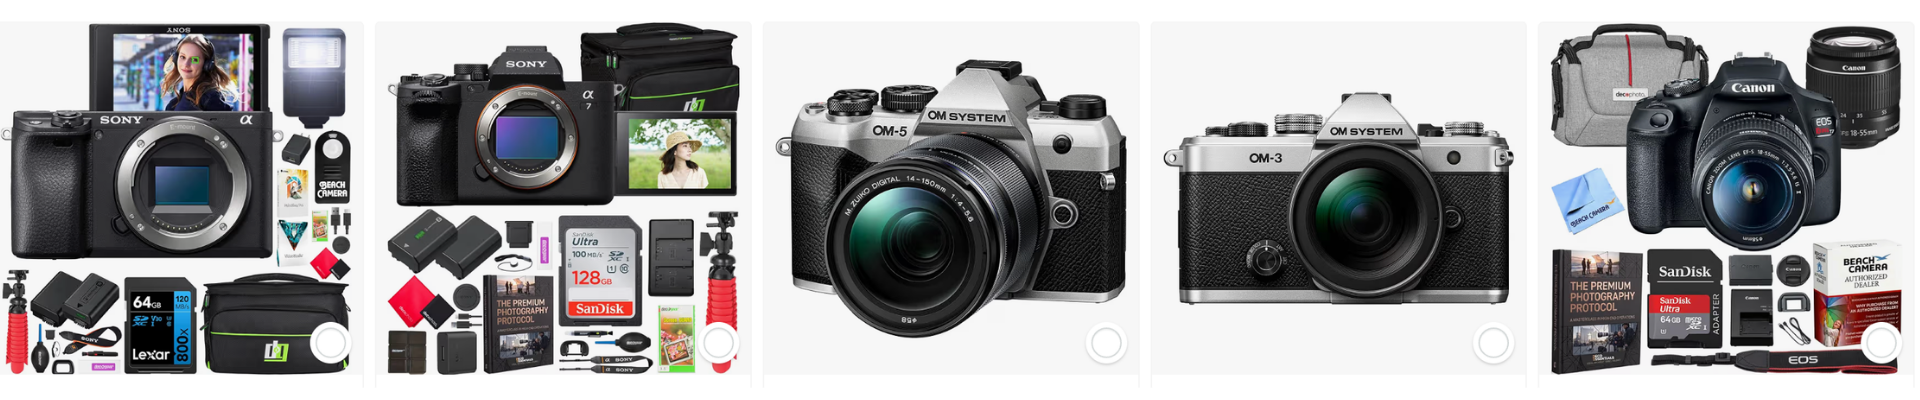
Your camera body is the foundation of your entire setup, and for beginners, an entry-level mirrorless or DSLR camera is usually the best starting point rather than jumping straight to a professional model. Mirrorless cameras have become increasingly popular in recent years thanks to their lighter weight, faster autofocus, and real-time preview of exposure settings through the electronic viewfinder, which makes learning the relationship between light and settings more intuitive. DSLRs still offer excellent image quality and a wider range of affordable used lenses, so the right choice often comes down to budget and personal preference rather than one being objectively better than the other.
Rather than chasing the highest megapixel count or the most advanced features, look for a body with manual mode , since learning to control aperture, shutter speed, and ISO yourself is what actually builds real photography skill. Many entry-level camera come bundled with a basic kit lens, which is a perfectly reasonable way to start, letting you learn your camera’s core functions before investing in more specialized lenses down the line.
2. A Versatile Zoom Lens
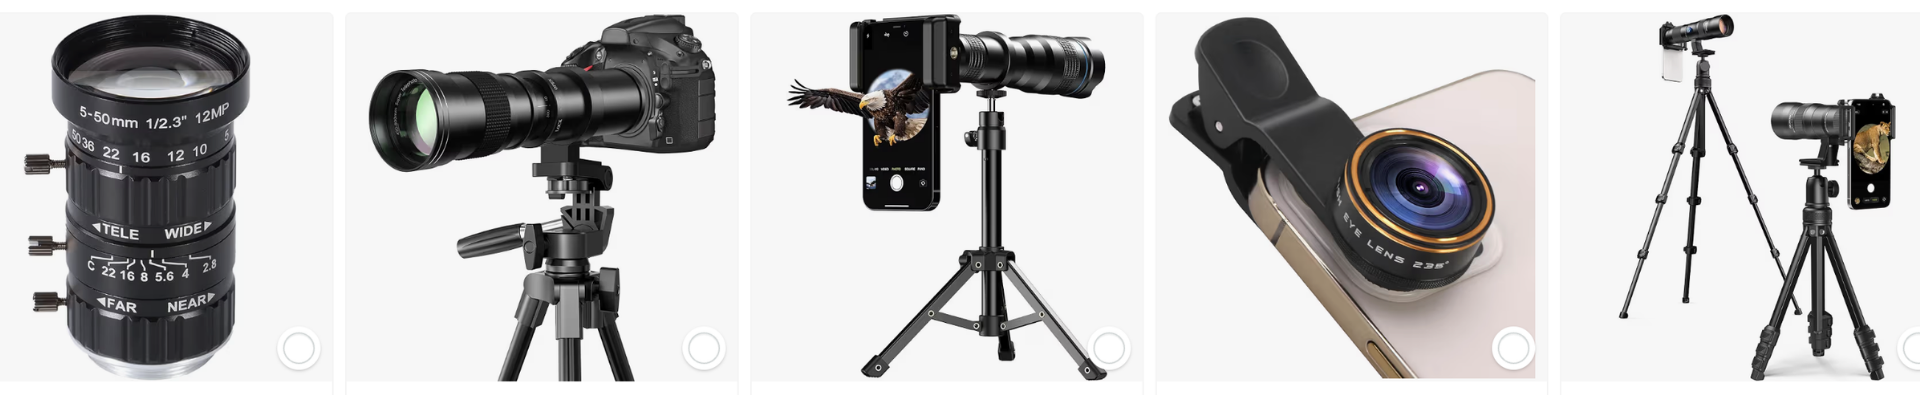
If your camera didn’t come bundled with one, a versatile zoom lens , typically covering a range like 18-55mm, is an excellent starting point for a beginner. This range covers everything from wider environmental shots to moderate close-ups, giving you enough flexibility to shoot a wide variety of subjects while you figure out what kind of photography actually interests you most, whether that’s portraits, landscapes, street photography, or something else entirely.
As you develop a clearer sense of your preferred style, you can invest in more specialized lenses, a fast prime lens for portraits with beautiful background blur, or a wider lens for landscapes, but there’s no need to rush this decision. Spending time with a versatile kit lens actually teaches you a lot about composition and framing, since you’ll naturally start noticing which focal lengths you gravitate toward for different types of shots, which makes any future lens purchase far more informed than guessing based on specs alone.
3. A Sturdy Tripod
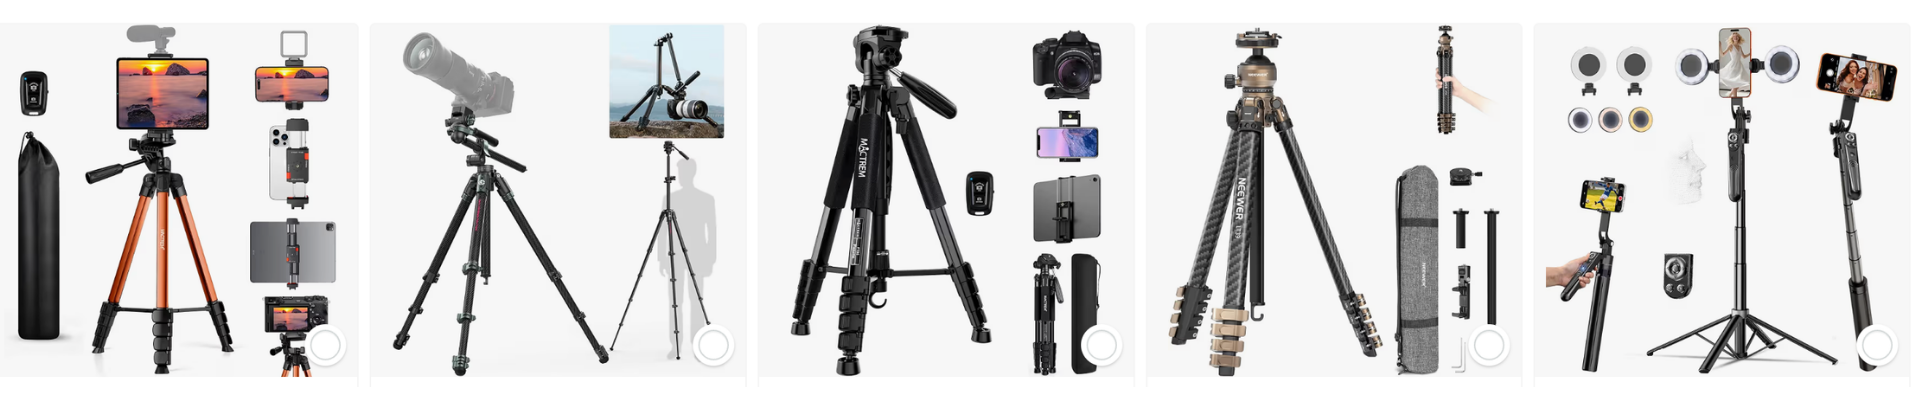
A tripod might not feel exciting, but it’s one of the most valuable tools for improving your photography, particularly for shots involving longer exposures, low light, or situations where camera shake would otherwise ruin an image. Long exposure photography, night shots, and even simple things like getting yourself into a group photo all depend on a stable platform that a tripod provides far more reliably than trying to brace your camera against a wall or ledge.
Look for a tripod that balances stability with portability , since one too heavy to carry easily will end up left at home more often than used. Aluminum tripods are generally more affordable and durable for everyday use, while carbon fiber options are lighter but pricier, worth considering once you know you’ll be hauling it on regular hikes or extended outings. A ball head, rather than a basic pan-tilt head, gives you quicker, more intuitive adjustments when composing shots at different angles.
4. Extra Memory Cards
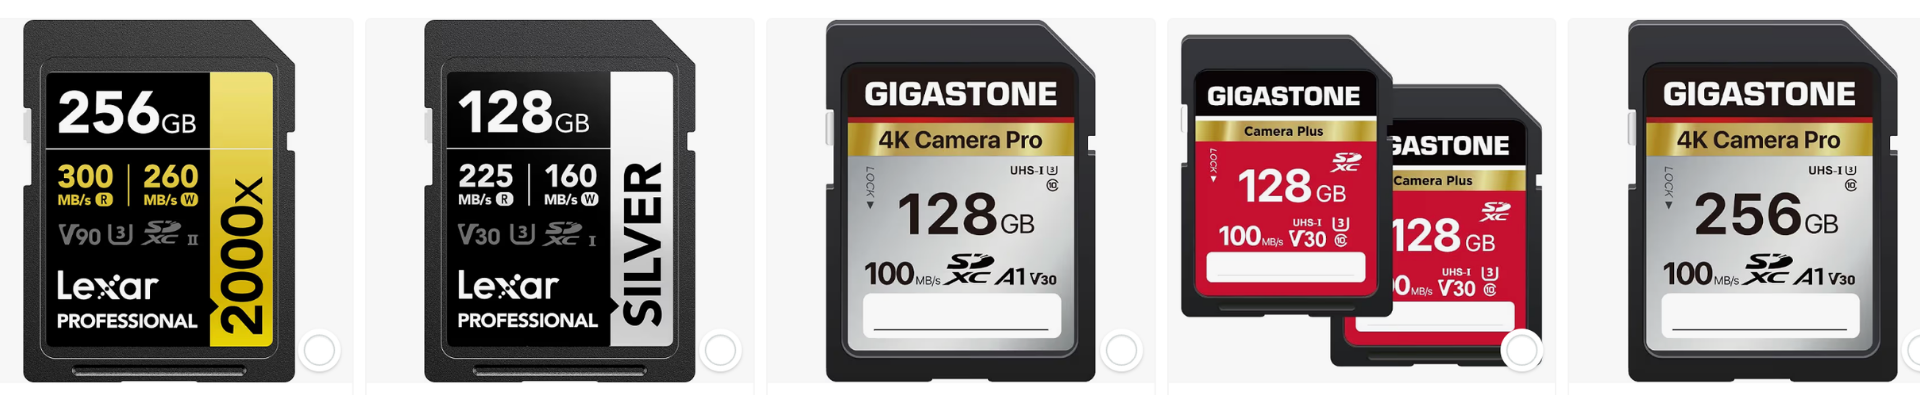
Running out of storage mid-shoot is one of the most avoidable frustrations a new photographer can experience, and having at least two or three memory cards on hand prevents this entirely. Beyond just capacity, look for cards with fast write speeds , especially if you plan on shooting in burst mode or recording video, since a slow card can create a bottleneck that causes your camera to lag or drop frames during continuous shooting.
It’s also worth thinking about redundancy rather than relying on a single large card for everything. Splitting your shots across a couple of smaller cards means that if one becomes corrupted or lost, you haven’t lost your entire shoot. Many photographers also make it a habit to back up images to a laptop or external drive as soon as possible after a shoot, treating memory cards as temporary storage rather than a permanent archive.
5. Extra Camera Batteries
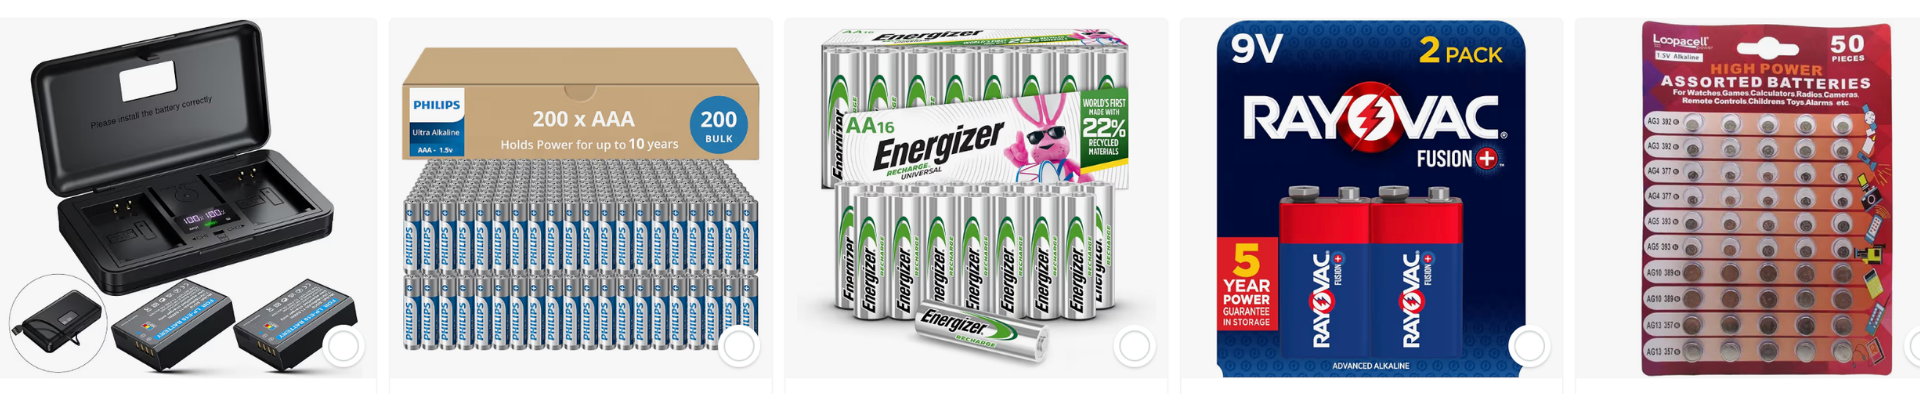
Few things end a productive shoot faster than a dead battery, particularly if you’re out shooting somewhere without easy access to an outlet. Mirrorless cameras in particular tend to drain batteries faster than DSLRs due to their reliance on electronic viewfinders and continuous sensor use, so having at least one, ideally two, spare batteries on hand is less of a luxury and more of a practical necessity.
Look for genuine or reputable third-party batteries rather than the cheapest available option, since low-quality batteries can sometimes fail to hold a charge properly or, in rare cases, cause damage to your camera. Keeping your batteries charged and ready before any planned shoot, and getting into the habit of packing spares even for short outings, saves you from the frustration of packing up early simply because you didn’t plan ahead.
6. A Camera Bag
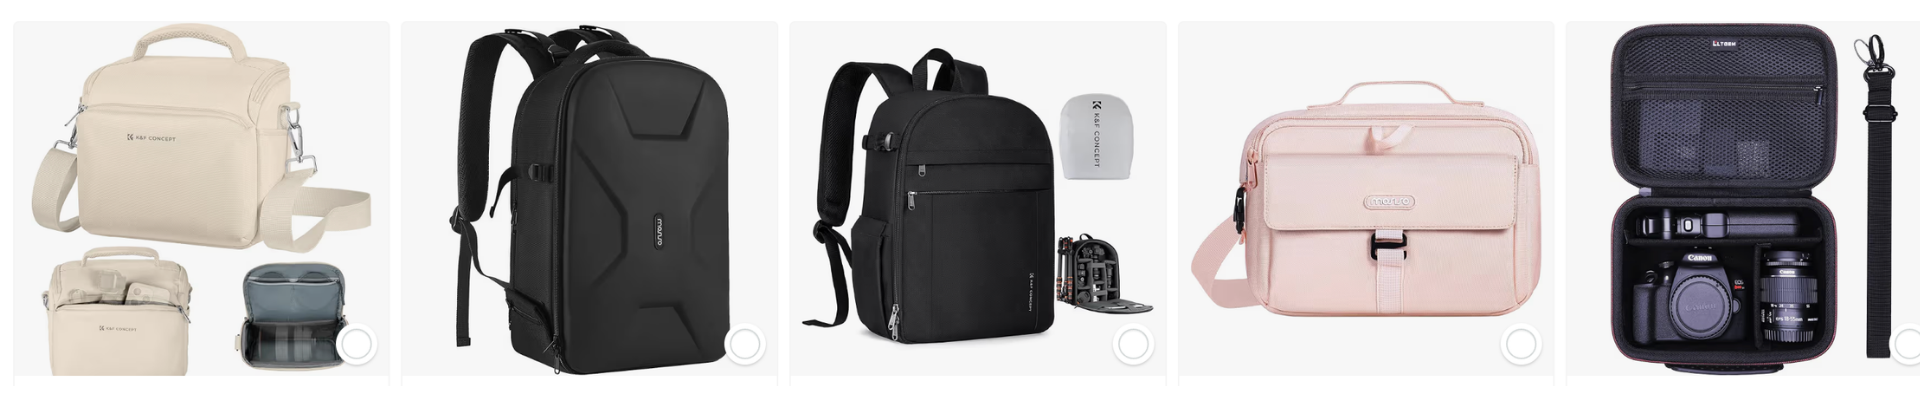
Protecting your gear during transport is just as important as protecting it during use, and a proper camera bag does far more than just carry your equipment from point A to point B. Padded compartments protect your camera body and lenses from bumps and impacts, while customizable dividers let you organize your gear efficiently as your collection grows beyond just a single camera and lens.
Consider how you actually plan to shoot when choosing a bag style. A backpack-style bag distributes weight more evenly and works well for hikes or longer outings, while a smaller shoulder bag offers quicker access for street photography or situations where you need to grab your camera fast. Weather resistance is also worth prioritizing if you plan on shooting outdoors regularly, since an unexpected rain shower shouldn’t mean packing up and heading home early.
7. A Lens Cleaning Kit
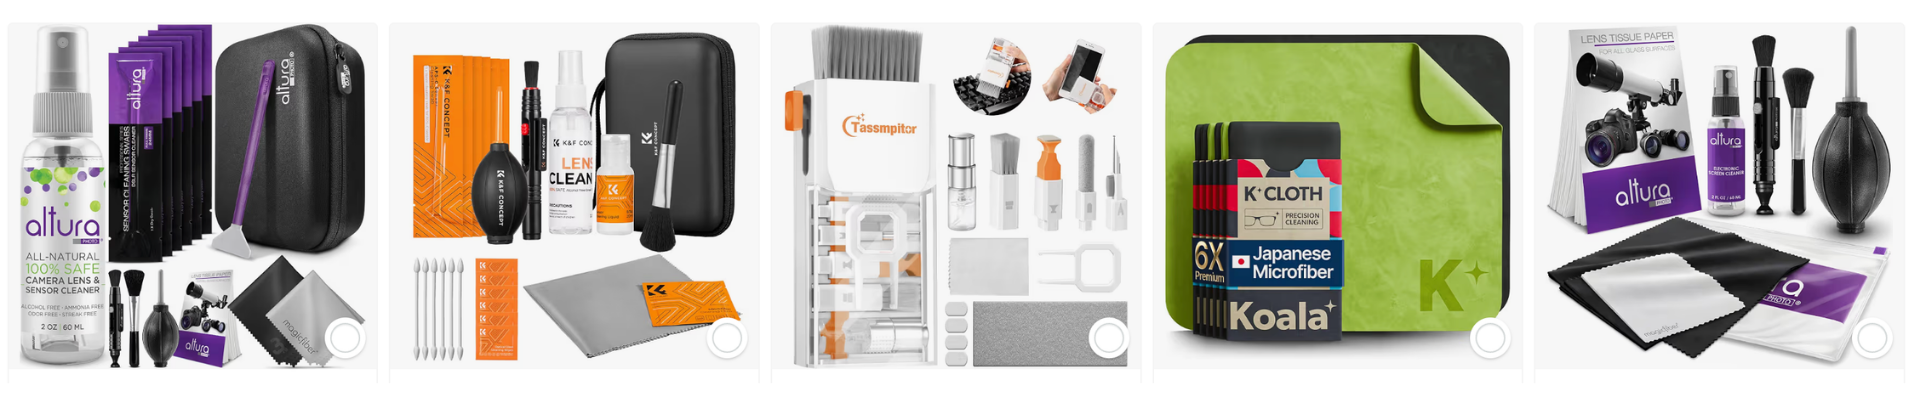
Dust, fingerprints, and smudges on your lens directly affect image quality, showing up as haze, reduced contrast, or unwanted spots in your photos, so keeping your gear clean is a genuinely important habit, not just a cosmetic concern. A basic lens cleaning kit typically includes a microfiber cloth, a blower for removing dust without direct contact, and a cleaning solution specifically formulated for camera lenses and sensors.
Avoid using regular cloths, tissues, or household cleaning products on your lens, since these can scratch the delicate coating or leave residue behind that’s worse than the original smudge. Getting into a simple habit, a quick check and clean before and after shoots, prevents small issues from building up over time and helps extend the life of your lenses considerably.
8. A Camera Strap
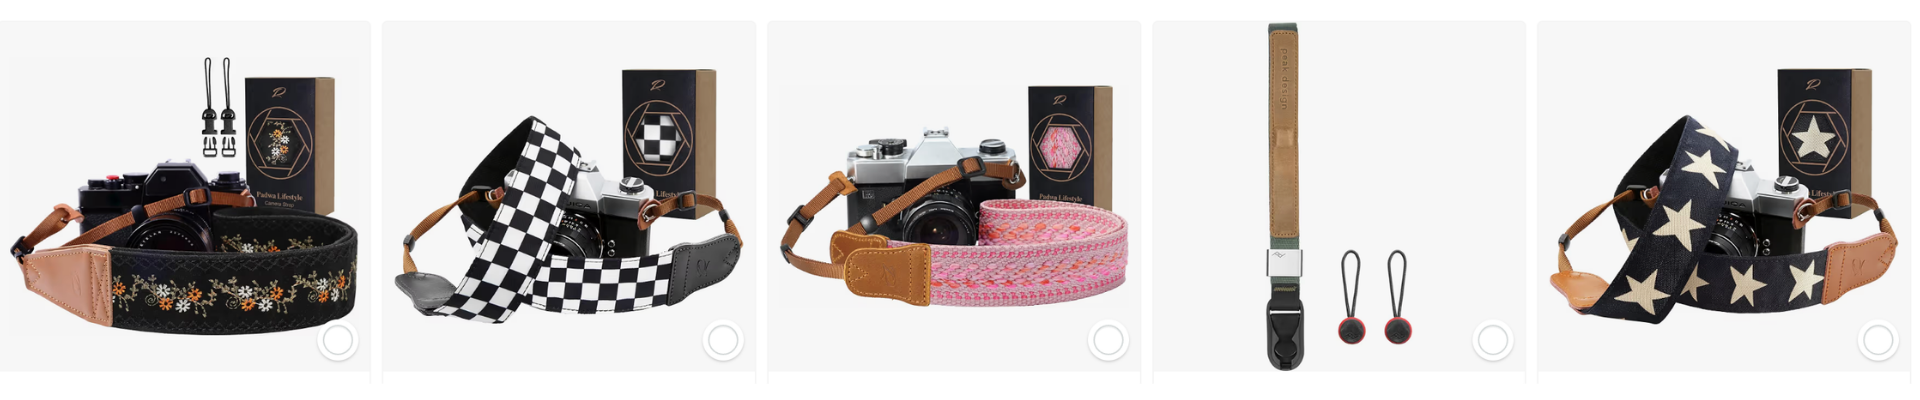
A comfortable, well-fitted camera strap might seem like a minor accessory, but it plays a real role in both comfort and gear protection during long shooting sessions. The strap that comes bundled with most cameras is functional but rarely comfortable for extended wear, and upgrading to a padded, adjustable strap makes a noticeable difference if you’re out shooting for hours at a time, whether at an event, on a hike, or wandering a city for street photography.
Beyond comfort, a strap also serves as a safety measure, keeping your camera secure around your neck or across your body rather than relying entirely on grip, which matters more than people expect in crowded or unpredictable shooting environments. Some photographers prefer a wrist strap for a more minimal feel during casual shooting, while a cross-body strap distributes weight better for those carrying heavier gear over longer periods.
9. An External Flash or Speedlight
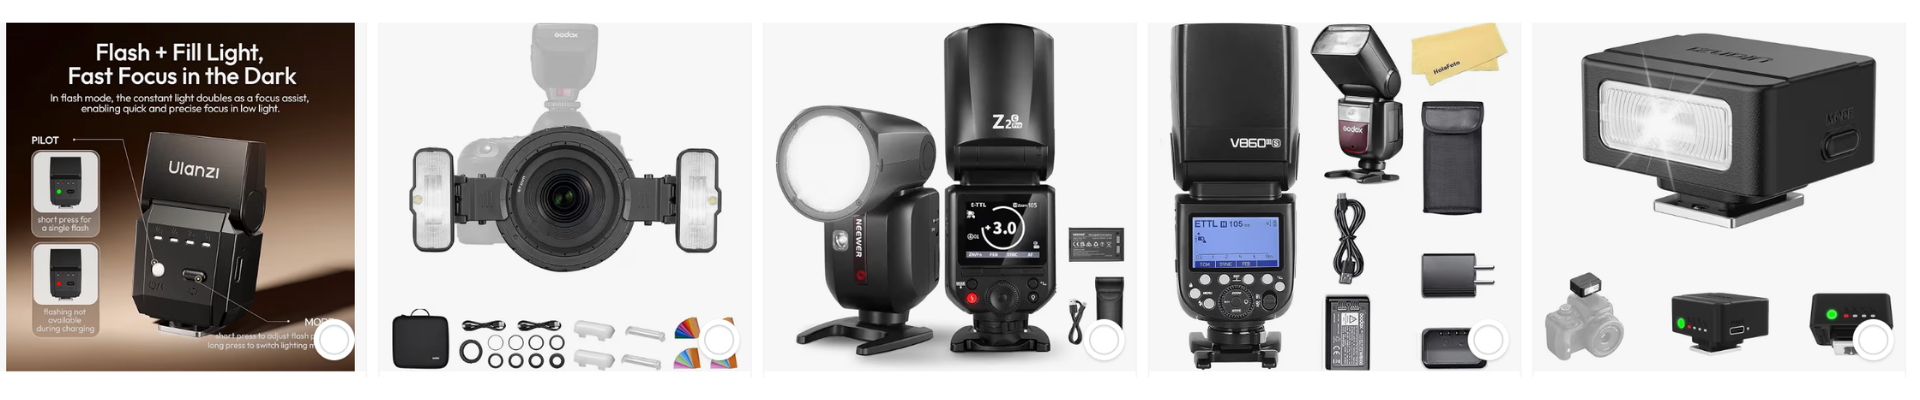
Built-in camera flashes tend to produce harsh, unflattering, direct light that flattens your subject and creates unwanted shadows. An external flash, or speedlight, gives you significantly more control, letting you bounce light off ceilings or walls for a softer, more natural look, or adjust the flash angle and intensity to suit the specific scene you’re shooting. This becomes especially valuable for indoor photography, events, or portrait sessions where lighting conditions aren’t ideal.
Beyond just brightness, an external flash opens the door to more advanced techniques like off-camera flash setups, which give you creative control over how light falls on your subject rather than relying entirely on available light. This isn’t an essential purchase for every beginner, particularly those focused on landscape or outdoor photography, but for anyone shooting portraits, events, or indoor scenes regularly, it’s one of the more impactful upgrades you can make early on.
10. A Photo Editing Software Subscription or License
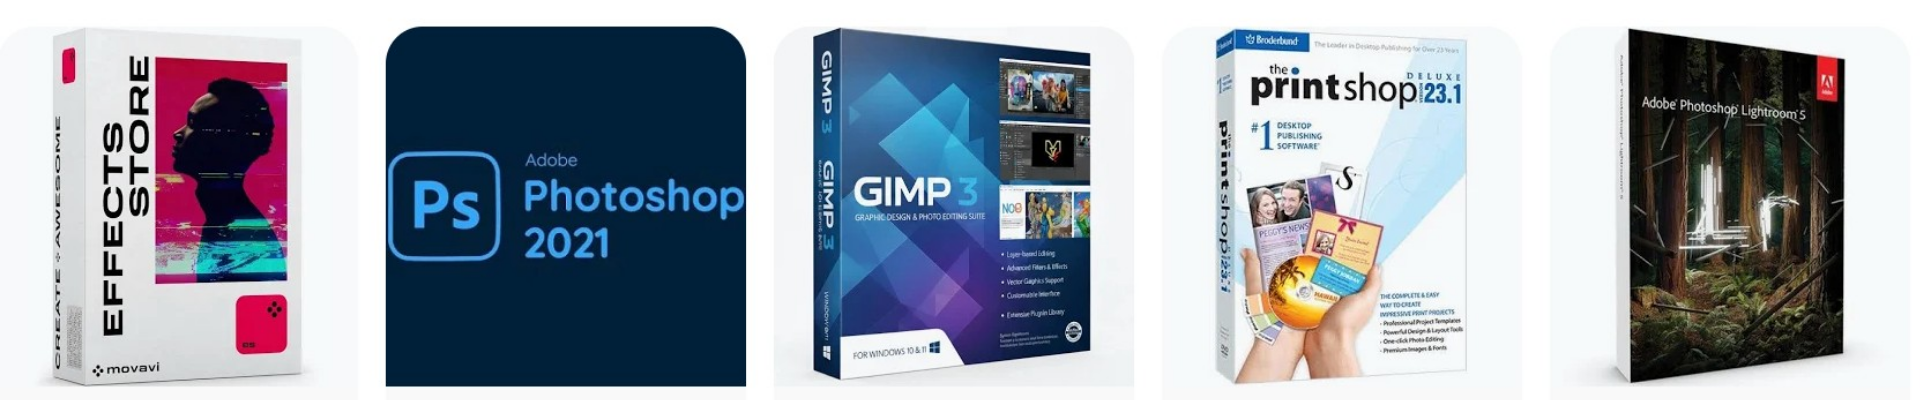
Photography doesn’t end when you press the shutter button, editing plays a significant role in the final look of your images, correcting exposure, adjusting color, and refining composition in ways that elevate a good shot into a genuinely great one. Software like Adobe Lightroom is a popular starting point for beginners, offering a manageable learning curve while still providing powerful tools for organizing and editing your growing photo library.
Learning basic editing skills, adjusting exposure, white balance, and contrast, teaches you a lot about what makes a photo work, often revealing mistakes or opportunities you didn’t notice while shooting. It’s worth spending time learning a single editing program well rather than jumping between multiple tools, since consistency in your workflow makes the editing process faster and your results more cohesive over time.
11. An External Hard Drive for Backup
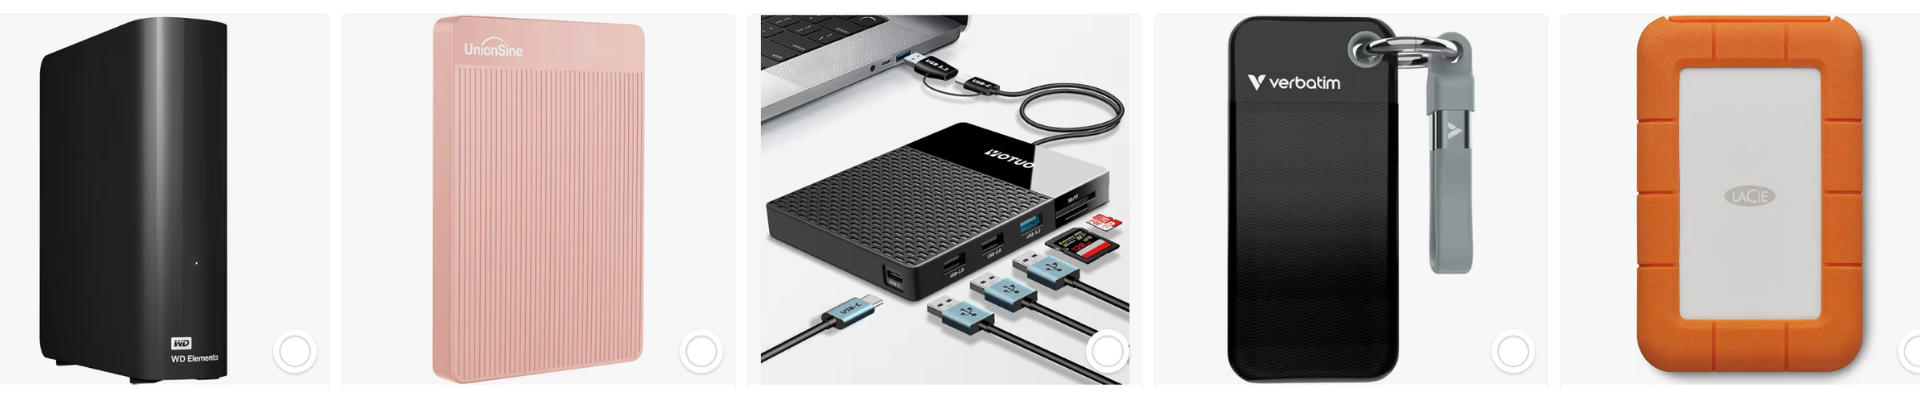
As your photo library grows, relying solely on your computer’s internal storage or leaving images on memory cards indefinitely is a risky long-term strategy. An external hard drive gives you a dedicated space to back up your full-resolution images, protecting your work from the very real possibility of a corrupted drive, lost laptop, or accidental deletion. This becomes increasingly important as you accumulate more shoots you genuinely don’t want to lose.
For extra peace of mind, many photographers follow a rule of keeping copies in at least two separate locations, one external drive at home and another backup either in cloud storage or a second physical drive stored elsewhere. This might feel like overkill when you’re just starting out, but establishing the habit early means you won’t be scrambling to recover irreplaceable images after a single hardware failure down the line.
12. A Remote Shutter Release
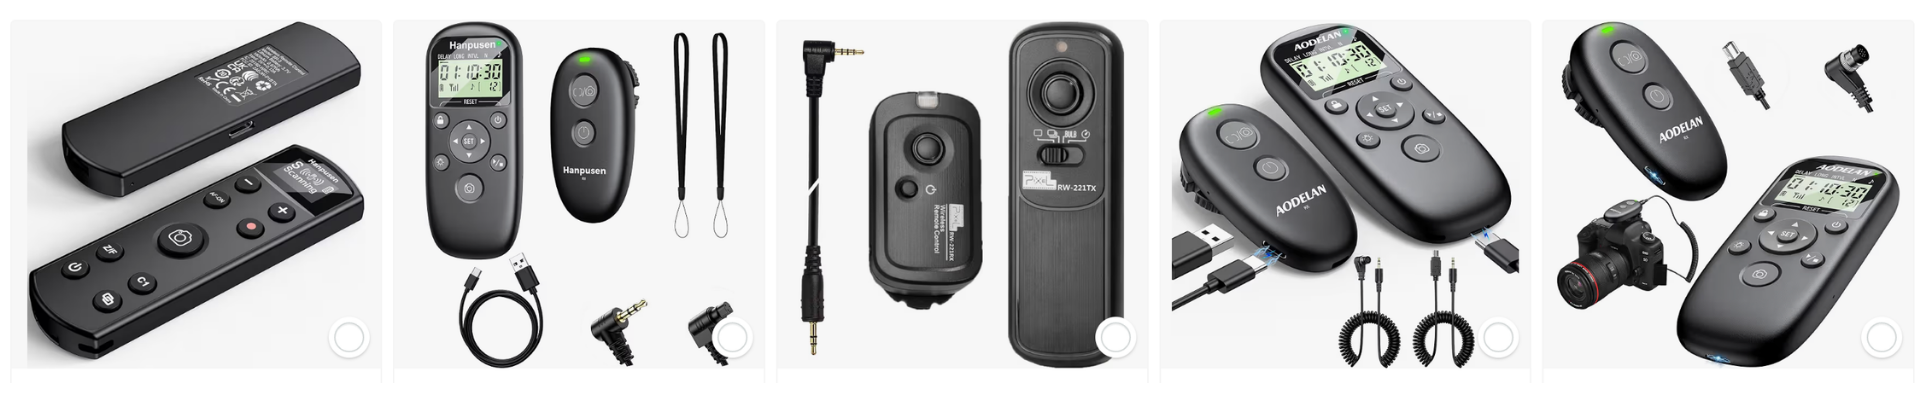
For certain types of photography, particularly long exposures, night photography, or self-portraits, physically pressing the shutter button can introduce enough camera shake to noticeably affect image sharpness. A remote shutter release lets you trigger your camera without touching it directly, eliminating this issue entirely and giving you the flexibility to step into your own shots when needed.
Wireless remotes offer more freedom of movement, useful for group shots or self-portraits where you need distance from the camera, while wired remotes are a reliable, inexpensive option for stationary shooting like landscapes or long-exposure night photography. This is a relatively small purchase, but one that meaningfully expands the type of shots you’re able to capture confidently.
13. A Reflector
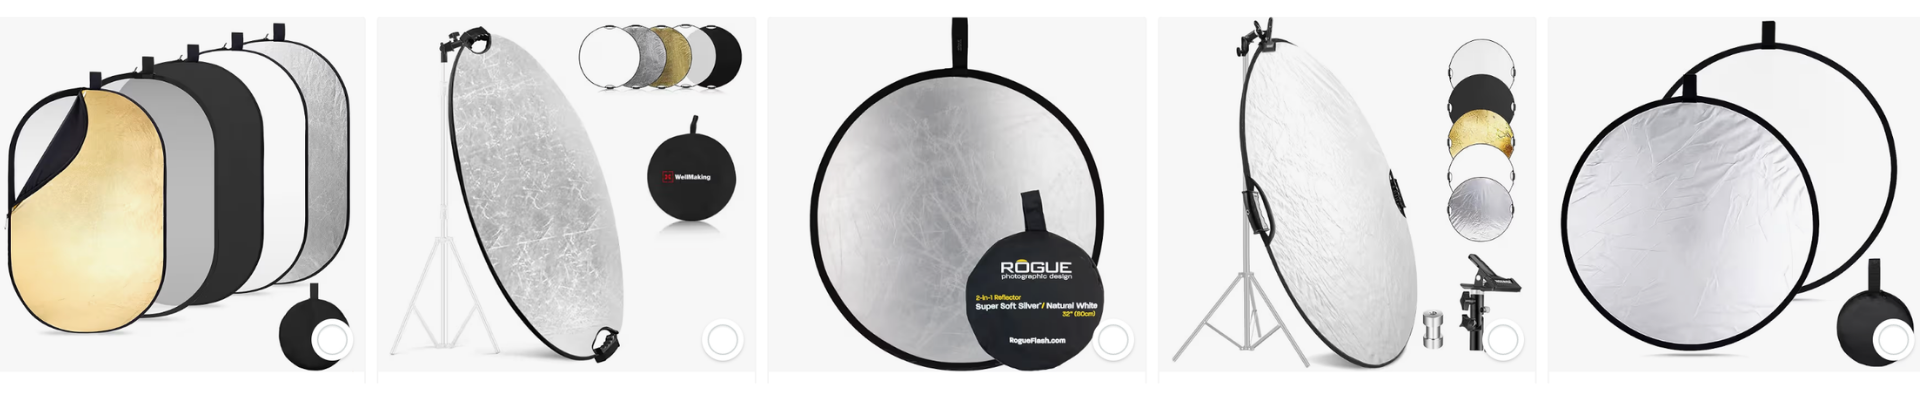
Natural light is one of the most powerful tools in photography, and a reflector helps you make the most of it by bouncing available light back onto your subject to fill in shadows and create more even, flattering illumination. This is particularly useful for portrait photography, where harsh shadows under the eyes or chin can be softened significantly with a well-positioned reflector, without needing any additional artificial lighting equipment.
Most reflectors come with multiple surface options , typically white, silver, gold, and black, each producing a different lighting effect depending on the mood and color tone you’re going for. They’re lightweight, foldable, and relatively inexpensive, making them one of the more accessible tools for photographers looking to improve their portrait and outdoor lighting without investing in a full studio lighting setup.
14. An Online Course or Structured Learning Resource

Owning the right gear is only part of becoming a better photographer, understanding how to actually use it effectively is what makes the biggest difference in your results. A structured online course or a well-reviewed photography book gives you a clear, organized path to learning core concepts like exposure, composition, and lighting, rather than piecing together scattered tips from random videos and hoping they add up to a coherent understanding.
Look for a resource that matches your specific interests, whether that’s portrait photography, landscapes, street photography, or something more specialized, since general courses are useful early on but more focused instruction becomes valuable once you’ve identified what you actually want to get better at. Pairing structured learning with consistent practice, actually going out and shooting regularly, is what turns theoretical knowledge into real skill over time.
Final Thoughts
You don’t need every item on this list to start taking great photos, a solid camera body , a versatile lens , and a memory card or two are genuinely enough to begin learning and improving.
From there, build out your kit gradually based on the type of photography you find yourself drawn to, whether that’s investing in a tripod for landscapes , a flash for portraits , or a reflector for more controlled outdoor shots. Photography rewards practice and understanding light far more than it rewards expensive gear, and the most meaningful improvements in your work will almost always come from time spent shooting, not time spent shopping.